Table of contents
Use the navigation below to quickly jump to a specific section.
HIKMICRO Background
HIKMICRO is a well-established brand in the thermal camera industry and especially the last couple of years they’re making big strides outside China’s mainland and into the hands of European and US customers.
 HIKMICRO is established in 2016
HIKMICRO's headquarter is located in China and they employ over 600 staff, serving customers in over 100 countries. The Mini series are their first thermal phone add-on, let’s see if it’s a hit or miss!
Let’s start with the basics
The Micro series come in two different flavors:
Both of these variations spot a 160 x 120 (17 micron) sensor and a super tiny body. The name Mini certainly does the camera justice, with both devices measuring just 54.1mm * 15mm * 27.5mm and weighing 26 grams.
It’s hard to spot the differences between the two at first sight. Yes, one has a more dark-gray finish but for the rest they’re identical to the eye.
The difference is the temperate range in which they can operate. The Mini can measure objects between 5 °C to 100 °C (41°F to 212°F). The Mini1 takes things to another level by being able to measure within ranges of -20 °C to 350 °C (-4°F to 662°F).
 HIKMICRO Mini1
For general usage (checking your radiator, floor heating, air conditioner etc.) this doesn’t matter too much, but if you’re in a specific industry or use-case with extreme cold or warm objects you should definitely opt for the Mini1.
 Mini1 Closeup
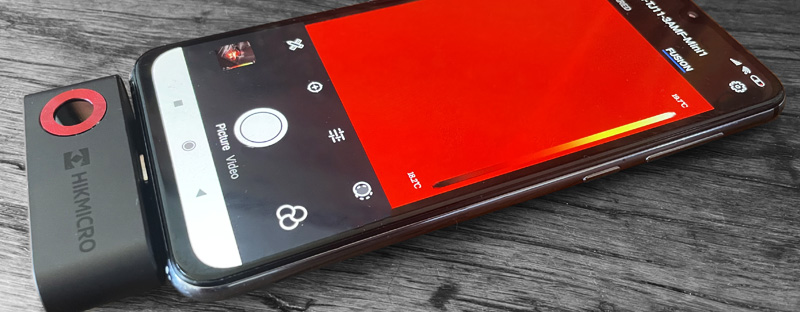
Oh, if you’re an iPhone user you’re out of luck this time. The MINI Series only work on Android devices with an USB-C port. However, if your phone happens to have a Micro-USB port you can get a Micro-USB to USB-C converter for it and it’ll work just fine as well.
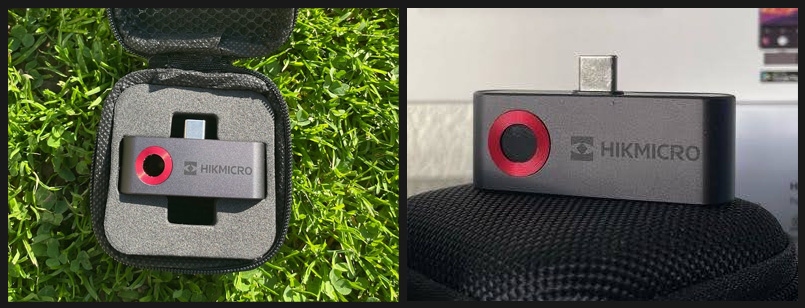
Unboxing the Mini1
I’m sure you love unboxing something just as much as I do. It’s always a great feeling with any product to tear off a protective foil from something and to smell a brand-new device. On a more serious note; it often tells you a lot about the product inside.
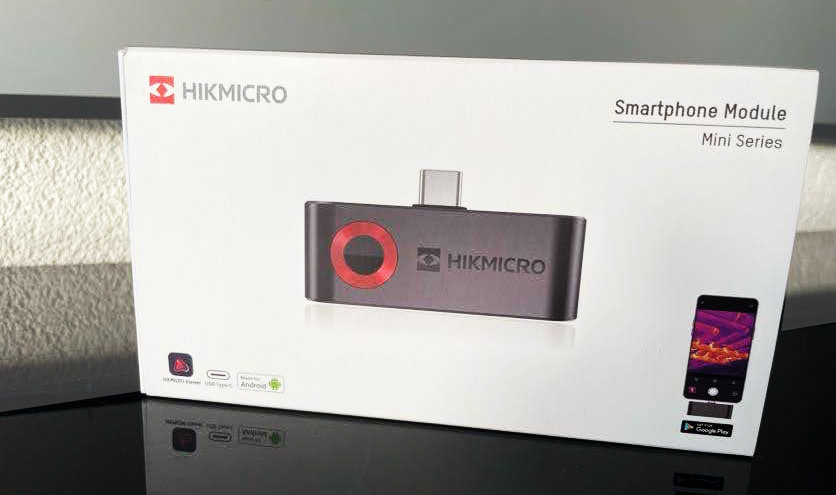 Mini1 Box
One can have a great product but if it comes in a brandless (is that a word?) cardboard box which is far too large and just screaming ‘we were in a hurry!’ it doesn’t give you a good initial impression.
You’ll probably start wondering if they have any quality control in place at all, let alone some decent customer support.
Available now at AmazonWell, no complaints here. I’m very happy with how everything is packed and you can tell that a lot of effort has been put into it after finishing the Mini1 camera itself. It’s very similar to unpacking a higher end phone.
Every part of the packaging has been custom-tailored for this product and its contents coming along with it.
 Mini1 unboxing
Speaking of which; this is what you’ll find in the box:
- Mini1
- Micro-USB to USB-C Converter
- Carrying case (with carabiner to add it to your keychain)
- Quick Start Guide (in 14 languages)
So far so good…but we all know not to judge a book by its cover! Let’s find out more!
A closer look
As mentioned before this device is really tiny. If it didn’t come with a carrying case I’m sure I would lose it sooner or later.
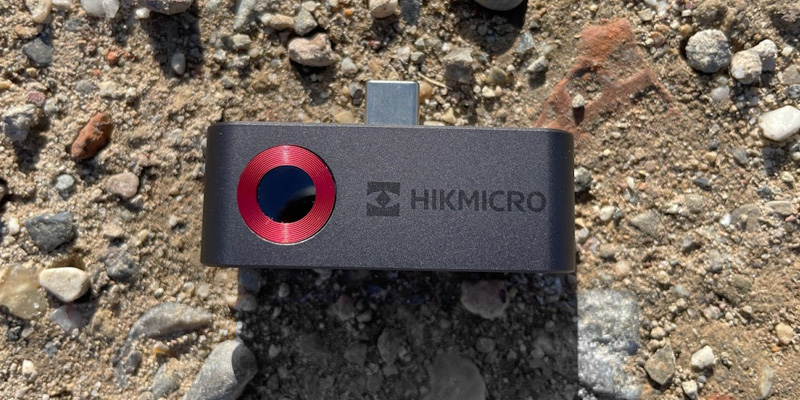 HIKMICRO Mini1 Outdoor Closeup
I like the dark-gray finish on the aluminum body, the subtitle HIKMICRO logo and the metal red ring around the lens. There’s not much else to it really. It just looks and feels like a quality product, period.
Using the Mini1 for the first time
If you have some previous experience with thermal phone add-ons you’ll probably don’t need the manual at all cause there are only three steps involved:
- Install the App (HIKMICRO Viewer)
- Connect the Mini1 to your phone’s USB-C port
- Open HIKMICRO Viewer
When you launch the app for the first time you’ll be asked to set permissions so the camera can communicate with your phone and save pictures/videos to your phone’s storage.
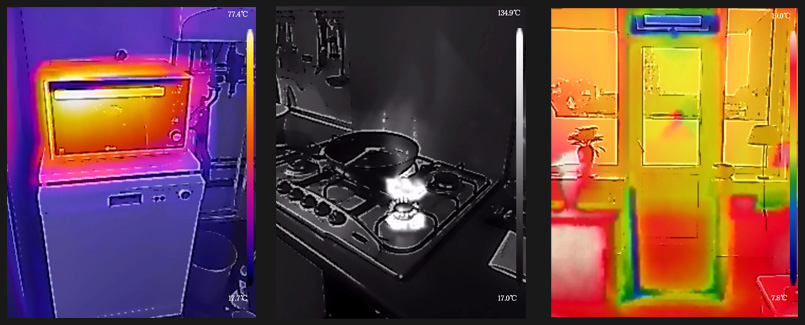
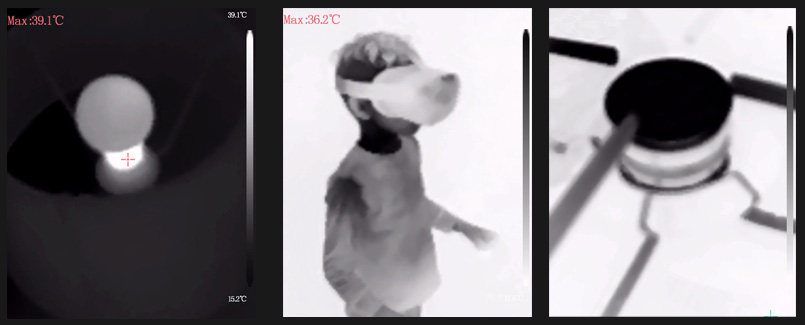
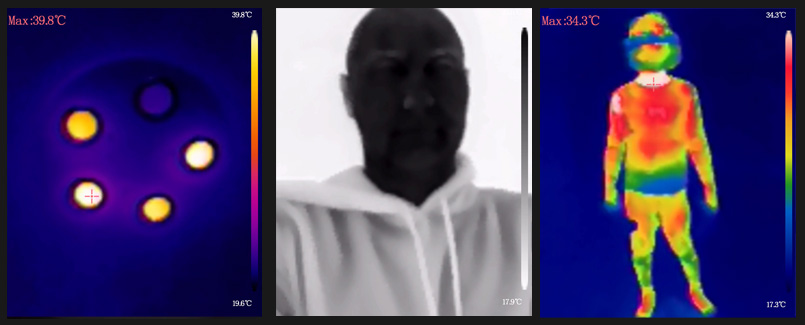 Various random pictures
Exploring the HIKMICRO Viewer app
Without a decent app any thermal phone add-on is practically rendered useless. The software determines its usability but also has a big impact on how good (or bad) images are displayed on your phone’s screen by the image algorithms in place.Let’s sum up the basics of the app and explore them in more detail below.
- Display modes
- Color palettes (15 options)
- Recording modes
- Settings
- Temperature unit
- Temperature alarm
- Emissivity settings
- Sensor calibration
- Fusion calibration
- Measurement spots/areas
All options are easy to find and I didn’t catch myself being lost somewhere in the menus. The icons being used are self-explanatory was well.
Display modes
You can choose between the ‘infrared and ‘fusion’ mode. The infrared-mode only shows the thermal image while the fusion mode overlays a (toned down, outlined) image of your phone’s camera to better identify the objects you’re looking at.
Color palettes
There are plenty of options here. I’m a big sucker for plain old white hot/black hot modes but since this camera is aimed more towards thermography you’ll probably be using the ‘rainbow-like’ color palettes more often since it’s easier to distinguish between the various radiation-zones there.
Recording modes
You can take pictures and record videos. Both of them are stored directly to your phone’s storage. It’s possible to switch between the various color palettes during recording. Finding the files takes a little bit of digging. I finally found the in this directory: \Android\data\com.hikvision.thermalGoogle\files. From there you can copy them to your computer.
Settings
In the main settings you can switch between the various temperature units (Celsius, Kelvin and Fahrenheit) and set a temperate alarm to receive an alert when the temperature exceeds your set threshold, ranging from -20°C to 350°C.You’ll also find some technical information about the device and software like model number, serial number and the firmware version it’s currently running on.Emissivity can be set in the live-view as well, ranging from 0.01 to 1 (black body) to give a more accurate temperature reading.
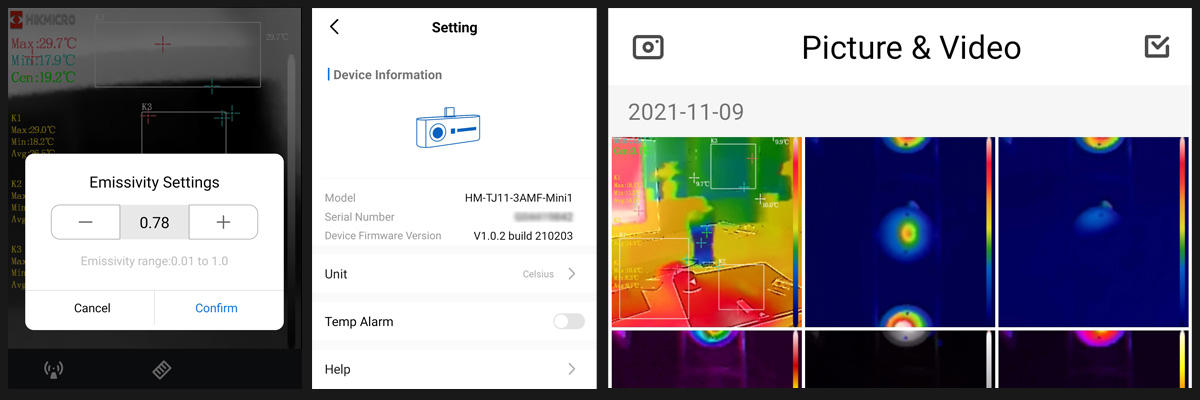 HIKMICRO Viewer Settings
Sensor calibration
The sensor calibrates automatically but if the need arises you can also perform the NUC (Non Uniformity Calibration) manually by clicking the calibration button. This takes a second or two, please note that the screen freezes during this operation.
Fusion calibration
When you use fusion mode for the first time you need to perform a calibration to match the thermal image with the visible light camera of your phone. Please be aware that you have to realign the image when the distance or angle of the subject you’re look at changes too much. In my case the minimum distance for a fused image was about 60cm, but this highly depends on which phone you’re using and where the cameras are positioned.
Measurement spots/areas
By default the Mini1 shows readings for these points:
- Center of image (static position)
- Highest temperature spot (dynamic position)
- Lowest temperature spot (dynamic position)
You can enable or disable them one by one. If you want to measure custom spots you can place up to 3 markers across the screen. You can also draw 3 rectangular areas on the screen from which the software will calculate the min, max and average temperature across the area.
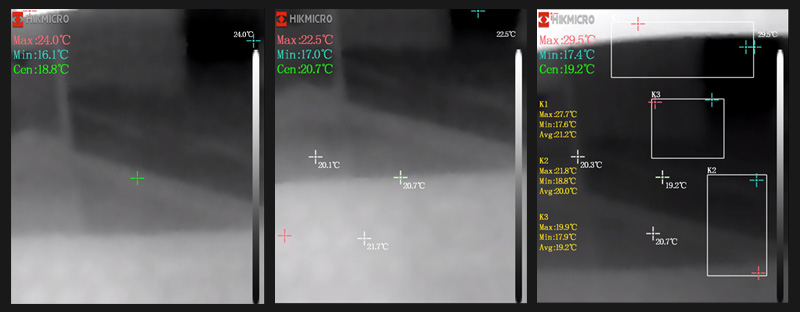 Showing the various measurement spots/areas
How does the Mini1 perform?
We imagine you won’t be looking at the Mini1 when you’re a professional thermographer or are looking for a high-res, highly-sensitive device. We expect you’re reading this because you’re in the market for your first thermal camera or need a thermal camera to quickly identify basic problems like (air) leakages, a suspected floor heating, mold or a broken fuse.
For those kinds of tasks the Mini1 is well-suited. The camera/software is easy to navigate and even without any prior thermal experience you’ll be up and running in no time. I did notice some crashes of the app (when I connected the camera to my phone) but I’m not sure if this is due to the phone I’m using or due to the HIKMICRO Viewer. Either way, it was fixed when I closed the app manually.
Available now at Amazon
Actually, it does most of the things that can be done with a more expensive camera, like fusion image, video recording, custom emissivity settings and creating pdf audits. But everything is toned down a little. You won’t get that high resolution or super sensitive sensor, but…we have to take the price into consideration here. Who would’ve thought not too long ago that a capable thermal camera smaller than a lighter was available for a couple hundred bucks?
 Fusion Mode
You can take this thing literally everywhere and we’re sure you or your friends find good use for it once in a while to identify issues in- and around the house.
The sensor resolution is just enough to not get you disappointed getting into thermal imaging. We won’t suggest going any lower (although there are FLIR devices with an 80 by 60 pixels sensor going for $1000…that’s just a rip-off really).
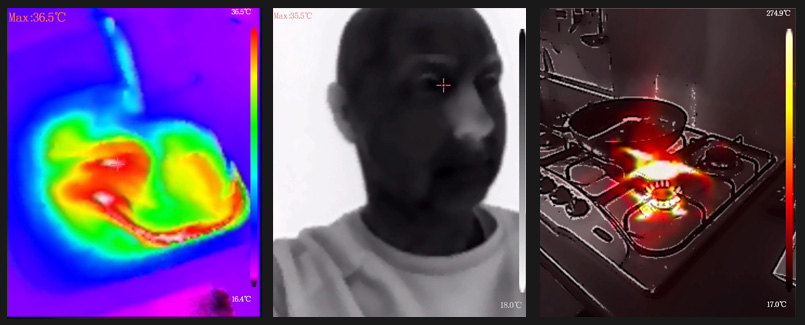
 White hot/Black hot modes
The sensitivity of the Mini1 is average, meaning you’ll be getting results in a yes/no fashion. Yes, there’s a problem or no, there’s no problem. While higher-end devices give you a bit more granular result. This is necessarily not a bad thing because we expect that this (identifying a problem) is your goal when acquiring the Mini1 anyways.
The video and picture modes work just as you would expect and work in a similar fashion as your phone’s camera app. The same can be said about the media gallery. Here you’ll find all the pictures and videos you’ve recorded.
 Various random pictures
You can quickly create a pdf report from pictures or share them with friends via Facebook messenger, WhatsApp or any other messaging app you’ve installed. I haven’t been able to share videos though. At least…not via the HIKMICRO Viewer. Instead, I had to use my phone’s file manager, browse to the storage location and send them through there.
There's not much else to it really. Your best bet is to try play around with it and get familiar with the device and thermal imaging in general. It also gives you a solid foundation to step-up to a higher-end camera in the future.
Where to buy?
The HIKMICRO Mini1 is available in these stores: